| Home |
| Misc. |
|
2-Mar-2005 Bertho Boman |
|
|
|
|
Introduction
Equipment and Setup
Measurements and Data
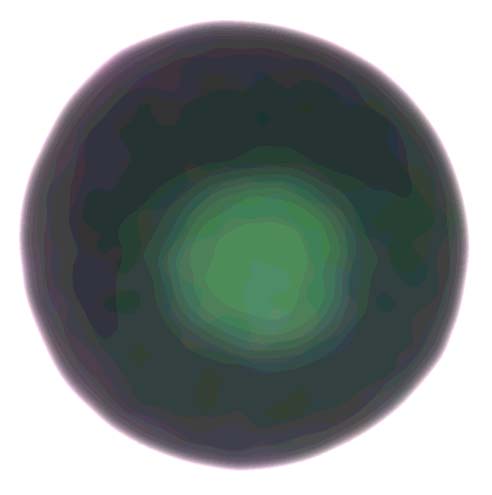
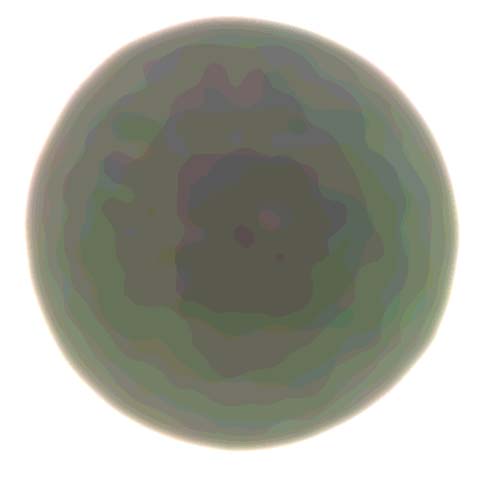
The cameras aperture was adjusted using the cameras blinking high light warning. It was set to just blink on the White Standard. The result was F18. Then the aperture was changed to F20 before taking the pictures to make sure that no data was clipped. The lights and settings were kept identical for the rest of the pictures. Speed and sensitivity was set at ISO 200 @ 1/125 second. The camera sensor to target distance was 850mm. The viewfinder shutter was closed for each picture to avoid any light leakage. The pictures were taken in NEF format and converted to reduced size jpg and Tiff images in Phase Ones Capture 1 software using AdobeRGB workspace. White balancing was done on the White Standard and applying that setting to all remaining pictures. They were slightly cropped. All measurements were done in PhotoShop CS on the Tiff samples and after a 10 pixel Gaussian blur was applied to average any possible pixel to pixel variation. The calculated average of the RGB values were used for the percentage calculations. The White standard was measured and that value of 243/243/243 was used for the rest of the measurements as the 100% reference value. 

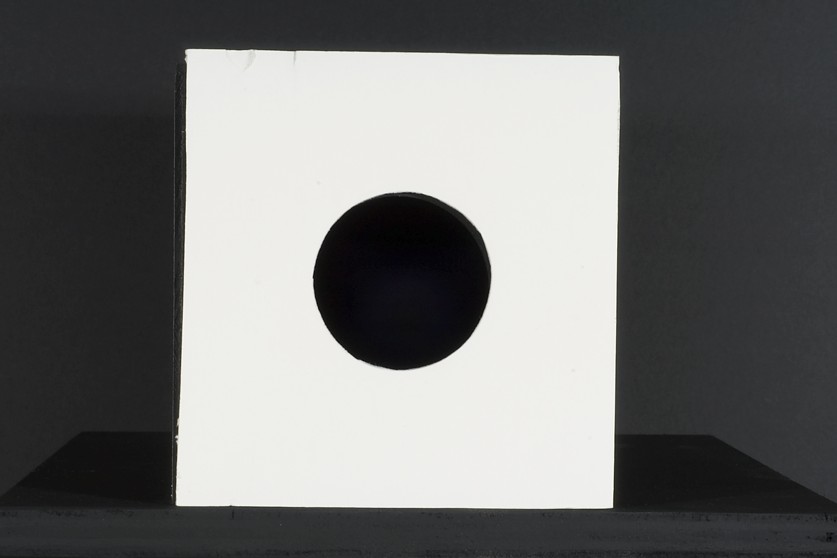
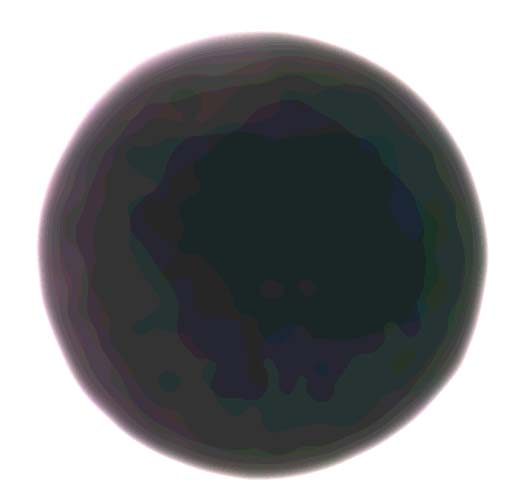
This is exactly the same setup and settings as above except a white foam core frame was added. It is hard to see that the black degraded since the eyes get fooled by the high contrast to the white frame. 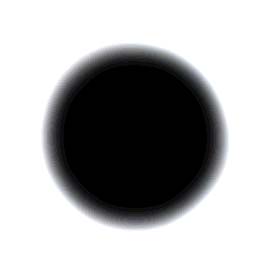
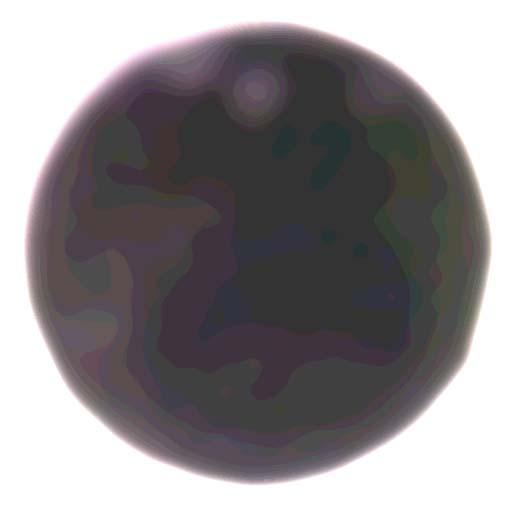
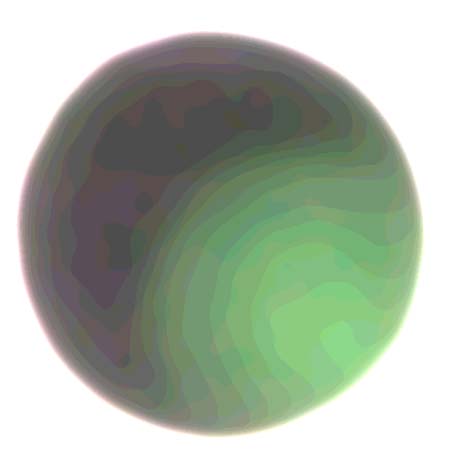
The curve command: 20 in-255 out was used to visualize the error. Note that the black painted frame turned white because it exceeded the curve limit of 20. Divide and Conquer
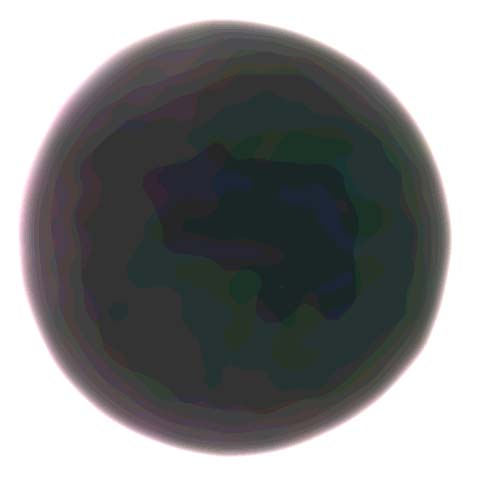
A good dividing line to find the problem would be to use a perfect flare-less lens. The easiest way to do that is to use a glass-less lens: a pinhole lens. I calculated the required pinhole size based on the full power strobe availability since I did not want to change the setup mechanically or change camera ISO setting. I then made a precision pinhole of the calculated size and assembled the system again and repeated the measurements and calculated as described above. Success! The readings this time for the "Perfect" black with the interfering white frame was 0/0/0. This proves that it is not a sensor problem which is great news. This last measurement series at least apparently (I got to be careful) eliminates the sensor, view finder, measurement setup and other causes. It looks like it is caused by either lens "fog" from internal lens reflections or internal camera body reflections. One suspected area is light bouncing off the sensor and then reflecting back off the rear elements of the lens. Second set of measurements To speed thing up when taking many measurements, I simplified the test procedure as follows: The perfect white patch was not used to define 100%. The white foam board frame was used instead to adjust the illumination until the camera just started to blink the overexposure warning and then the aperture was reduced 1/3 step. A further simplification was that normal JPGs were used instead of NEFs and sRGB mode selected. This slightly changes the setup and results but all the lenses in this second test were measured under the identical condition. Another source of variation in the data is how to exactly select and specify the measured "flare" or "fog". Because of the blurring added, data can not be collected close to the edge. I use the eyedropper in PhotoShop and hunt for the worst section. Please do not use this as an selection tool like: "brand-X is 3.9% and brand-Y is 4.5%". Consider this testing as a wakeup call that there are problems with pictures with bright areas and dark shadows. The shadows are degraded by the lens and some lenses are worse than others. Look at the pictures and keep it in mind. Also notice the big differences with the same lens depending on its zoom and aperture settings. This also brings up an interesting thought: For cases when multiple pictures are taken and later combined in PhotoShop, covering up bright areas would increase the effective dynamic range by allowing real black values. 

Summary
The degradation was not seen when a pinhole lens was used in an identical test which proves that it is not caused by the sensor or electronics. This problem ought to significantly affect the accuracy of camera profiling. Further Testing
Afterwards, I intend to finish the testing of an optically correct illumination system to be used while creating camera profiles and to write a description of profiling procedure. There are so many variables in profiling cameras and they often get mixed up or misunderstood. As a consequence there are claims that it does not work well to profile a camera or that it is useless. I think that is because the variables are often not sufficiently controlled and the result is in some cases poor. Bertho Boman
|
|||||||||||||||||||||||||||||||||||||||||||||||||||||||||||||||||